In order to enter the house, we will create a door that opens using a code.
The Code Door is one of the tools available in the world.
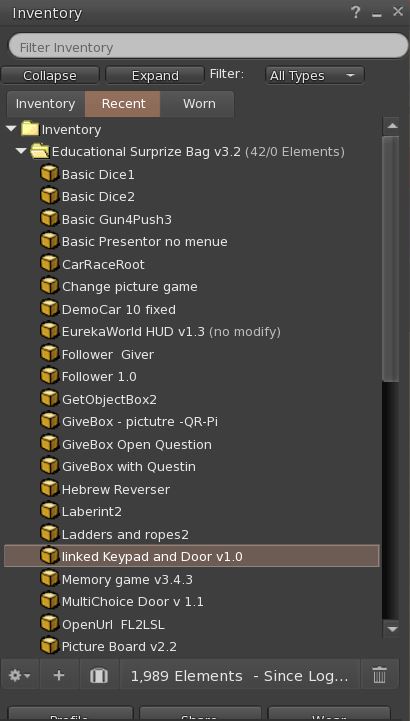
It is located within the EDUCATIONAL SURPRIZE BAG tool folder.
In order to get the whole EDUCATIONAL SURPRIZE BAG folder press the link.
Open the suitcase and look for the EDUCATIONAL SURPRIZE BAG folder.
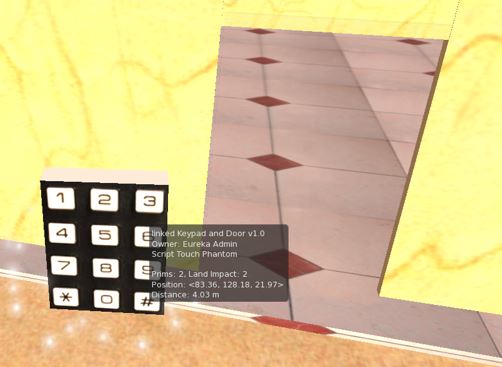
Open the folder. Look for the door with the code called linked Keypad and Door v1.0
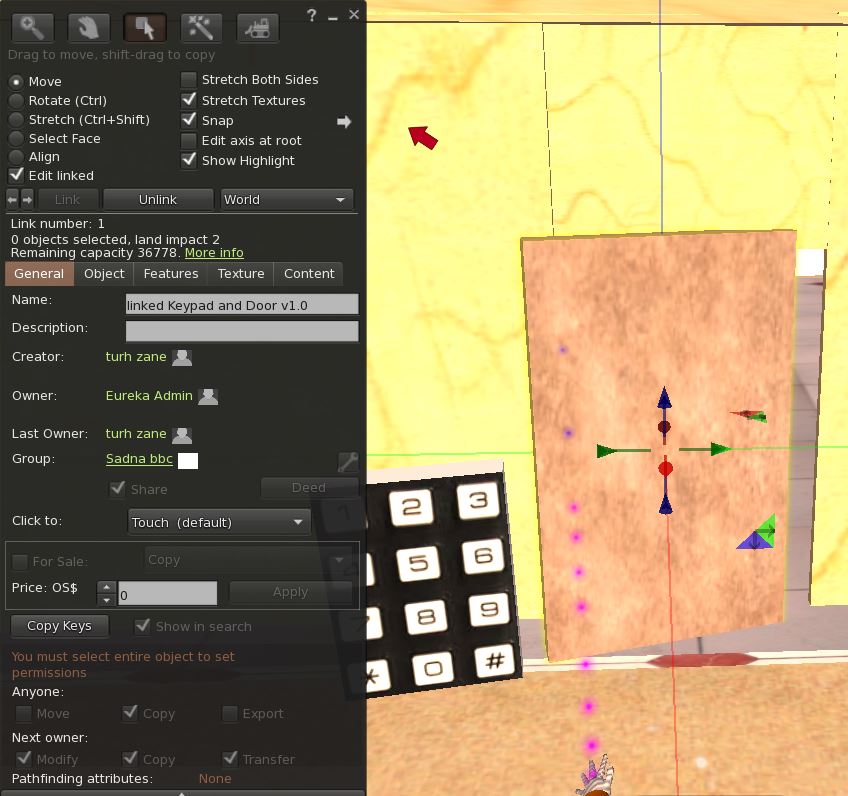
Drag the code door component from the list to the place we created the doorframe for the door
Adjust the size of the door to the size of the door frame.
In the EDIT menu, press the EDIT LINKED option, then select only the door.
Now, using the CTRL + SHIFT buttons, adjust the size of the door itself to the fame.
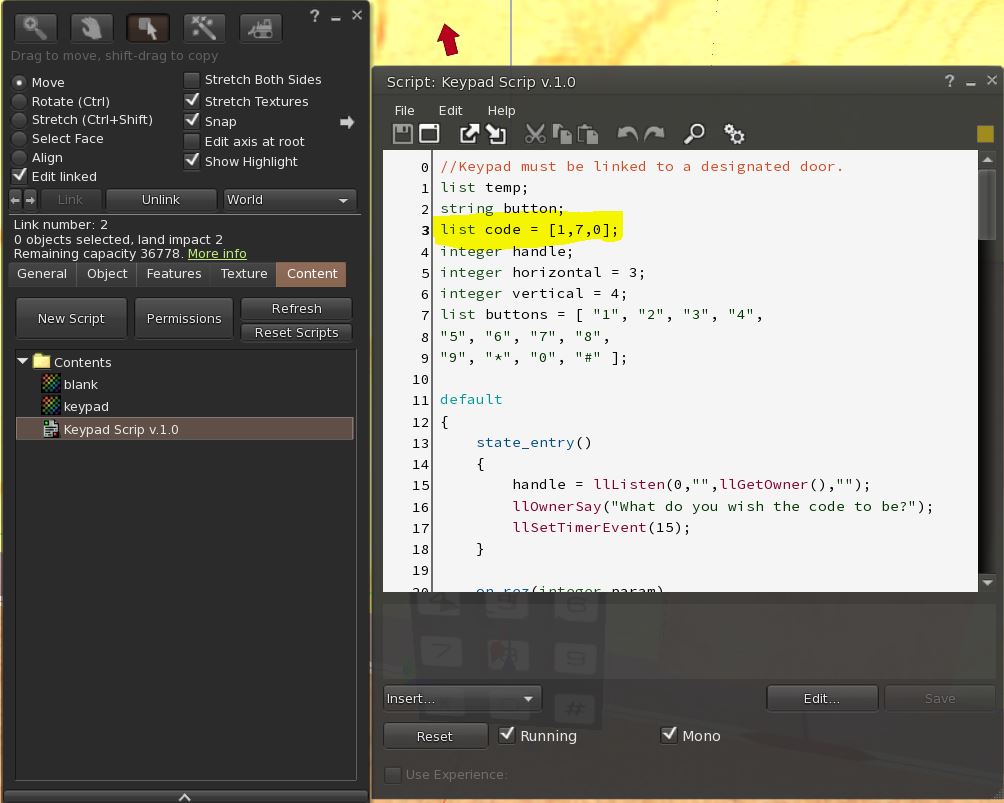
In this section we will learn to set the code directly within the SCRIPT (the code that activates the door).
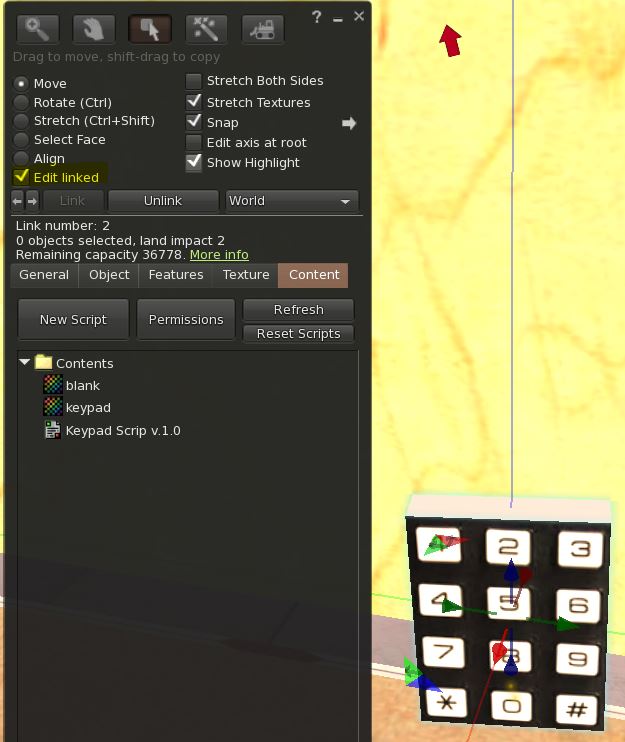
Right-click on the coder and open the EDIT script.
In the edit menu, highlight the EDIT LINKED option and then click on the coder.
Then, enter the CONTENT tab
Inside the CONTENT tab you will find a folder that contains several items.
We will only work with the third script item – KEYPAD SCRIPT.
Open the SCRIPT.
And in the third line change the code.
The code must be in numbers.
Must contain a comma between the numbers, as shown in the following image.
After setting the code, press the SAVE button
In order to enter the house it will be necessary to enter the code.
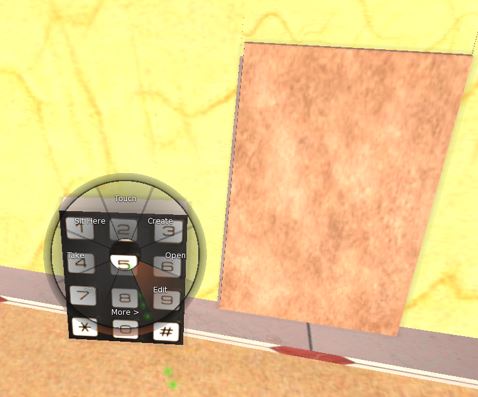
Press the code numbers and at the end press the pound key.
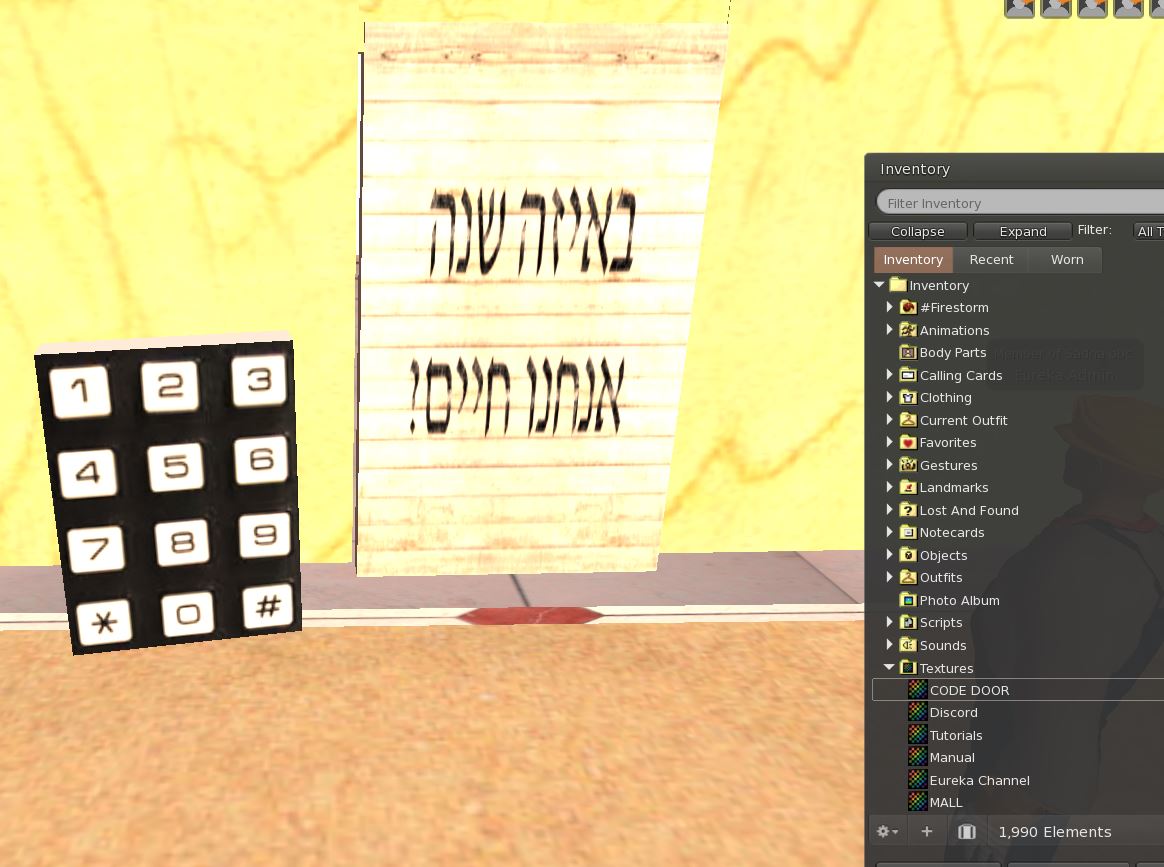
In order for others to enter the house using the code, we will create an image that will appear on the door and serve as a hint of the code.
We will drag the picture from the suitcase towards the door until the picture appears on top of it.