Lesson 5.2 – Adding textures to walls, floor and ceiling
Task: Add textures to the house.
Once the house structure has been built, it is time to define colors that will match in terms of design.
First, open the edit menu by right-clicking on one of the walls and then, by pressing the EDIT button.
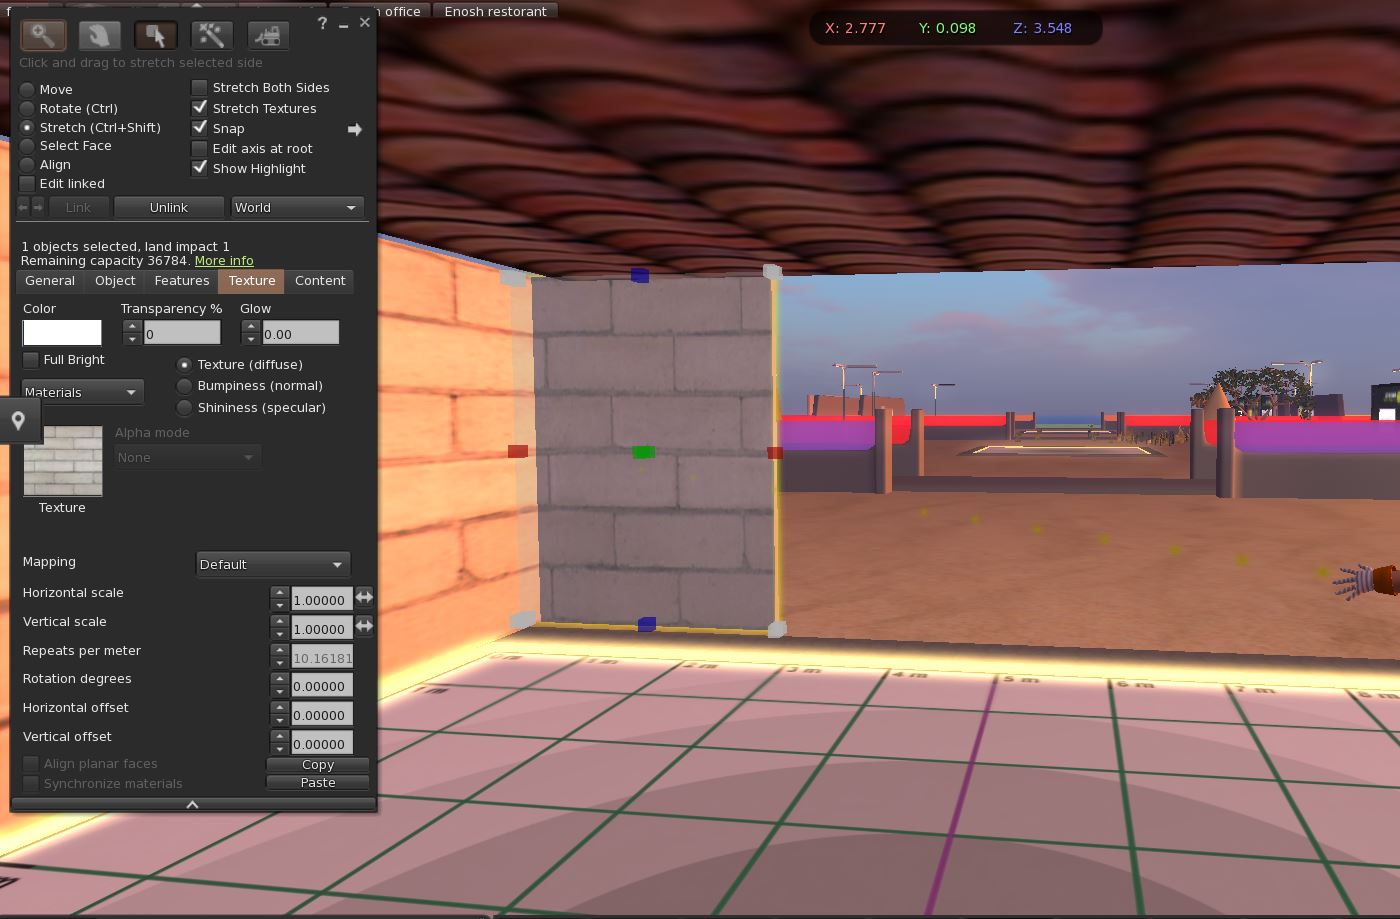
In order to set the texture for all the walls together, it is necessary to select them. Press the SHIFT button continuously and select all the walls including the door lintel before created.
When the walls are selected, a yellow outline will appear around those selected walls.
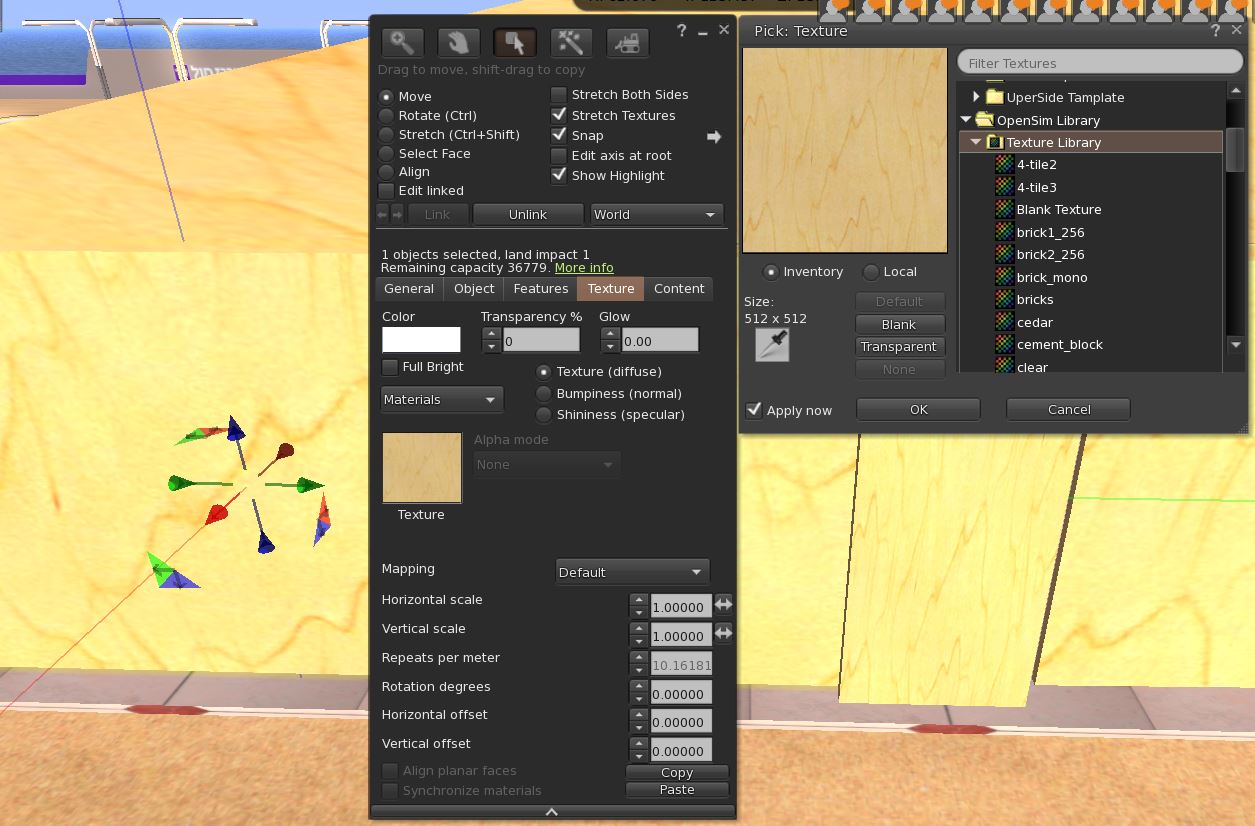
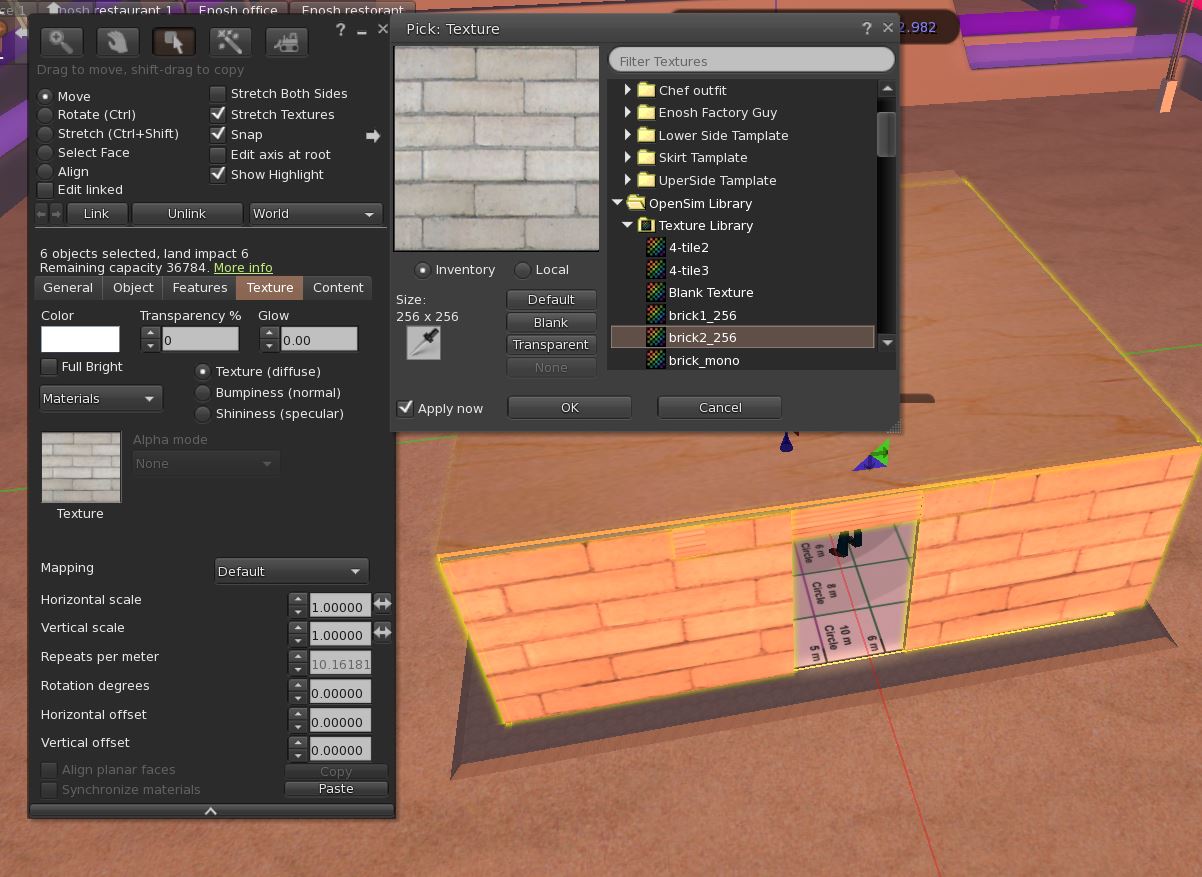
Open the EDIT menu and select the TEXTURE menu.
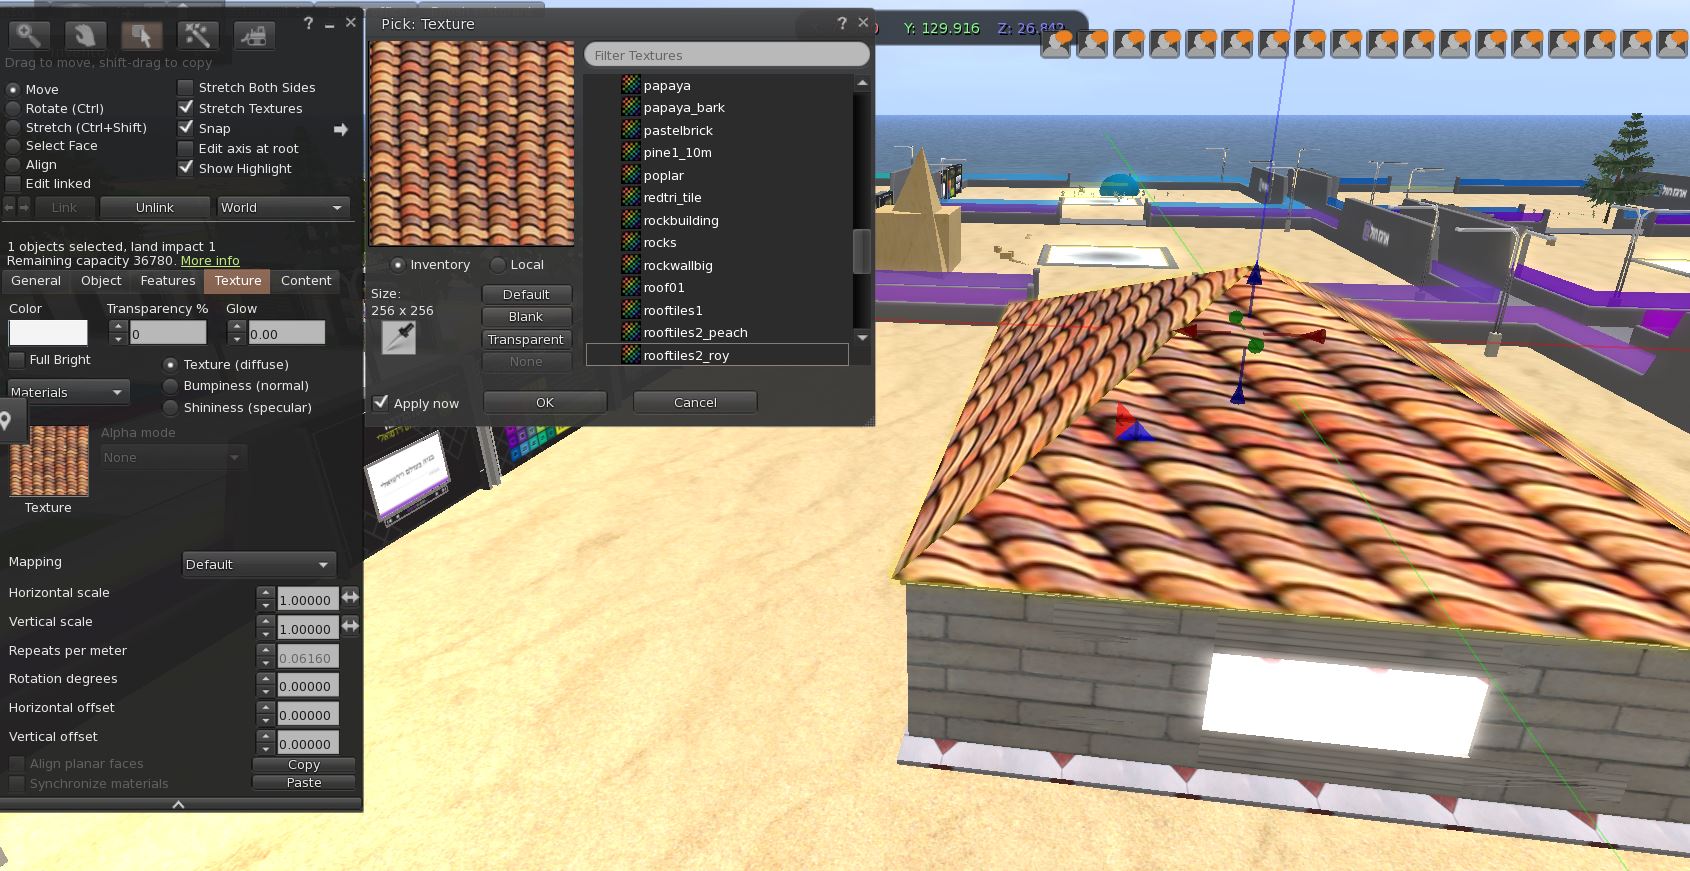
Click the textures window, and then open the OPENSIM LIBRARY textures folder.
Choose the texture as desired. In the model shown above used the BRICKS texture.
At the end of the textures of the walls, we will also choose the texture for the roof.
Choose a texture for the floor of the house. The texture can be adjusted in such a way that it appears multiple times like a mosaic.
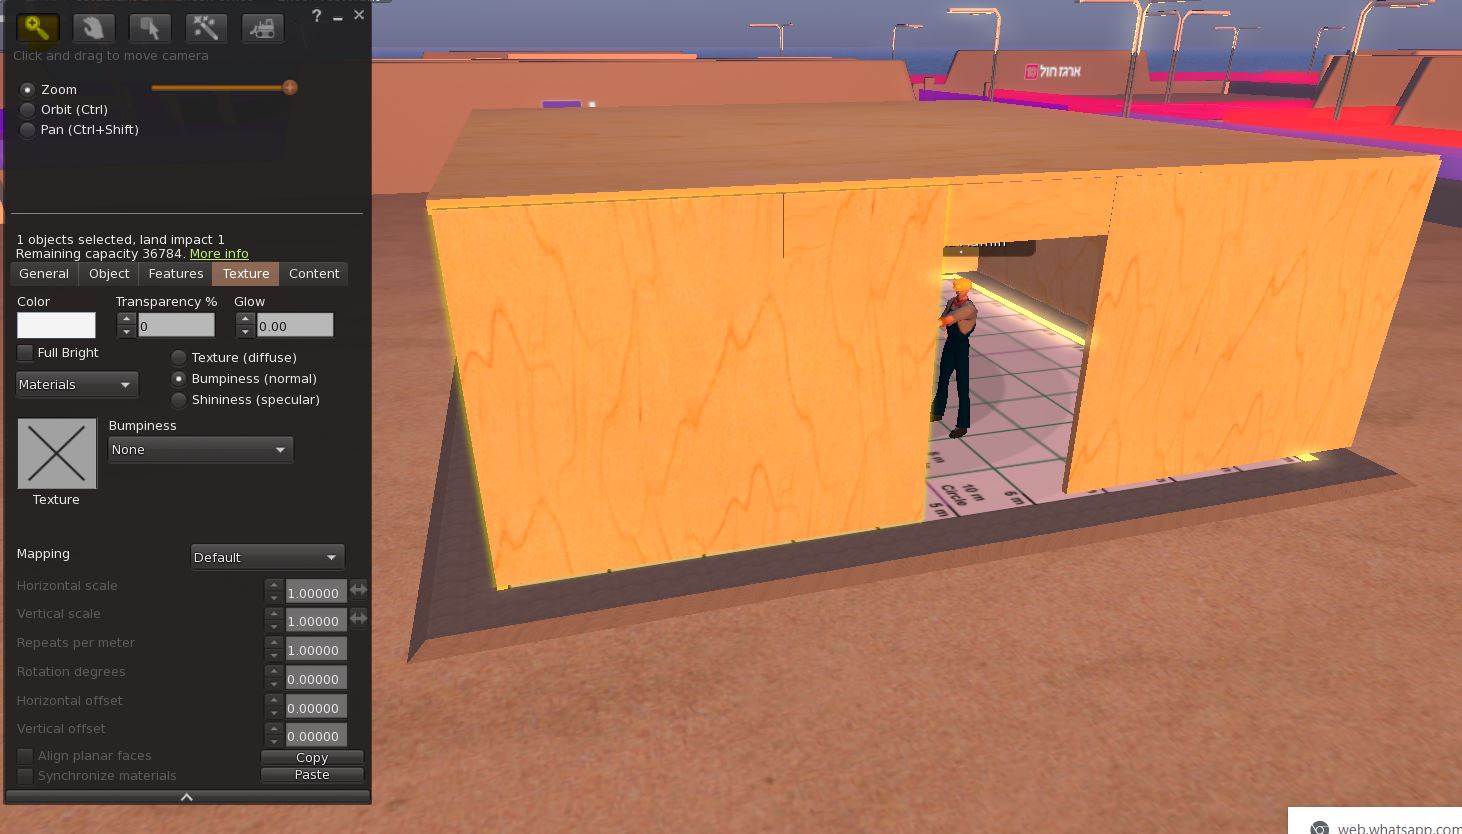
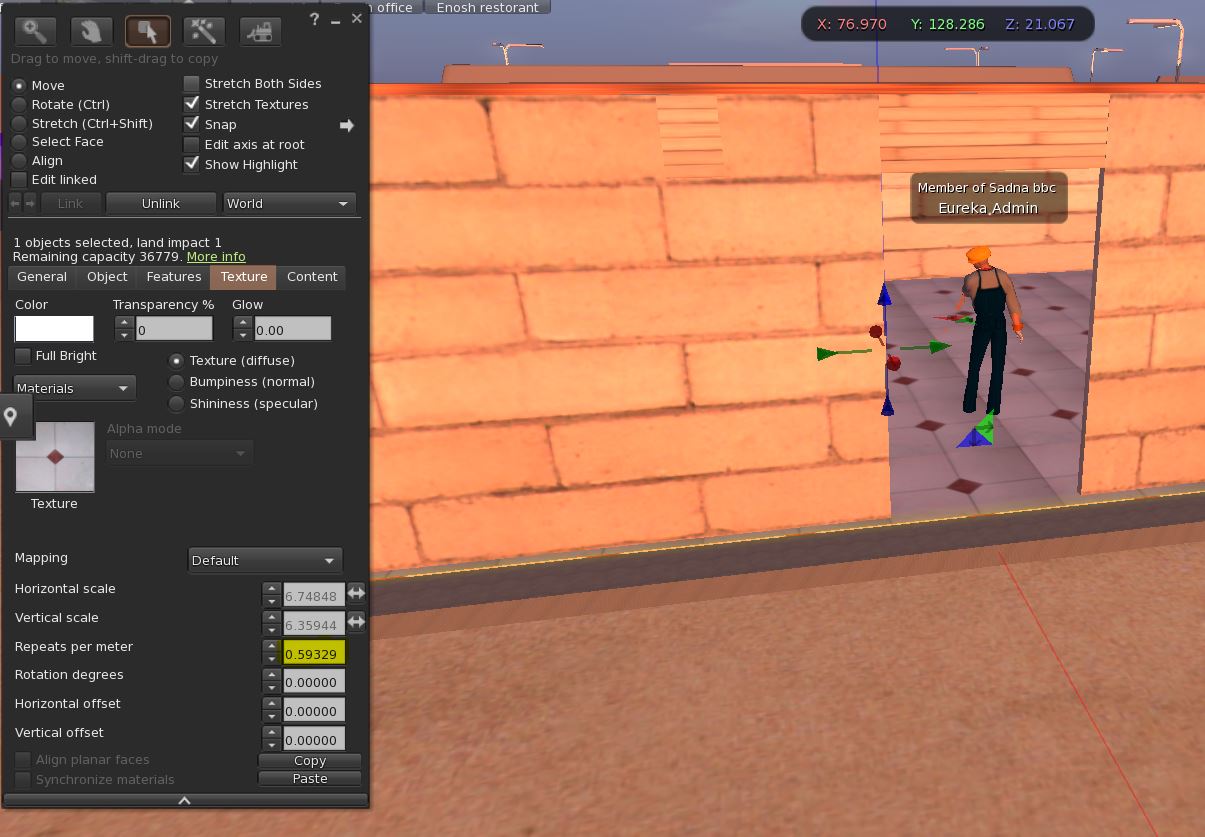
In the TEXTURE tab, adjust as you wish as shown in the image.
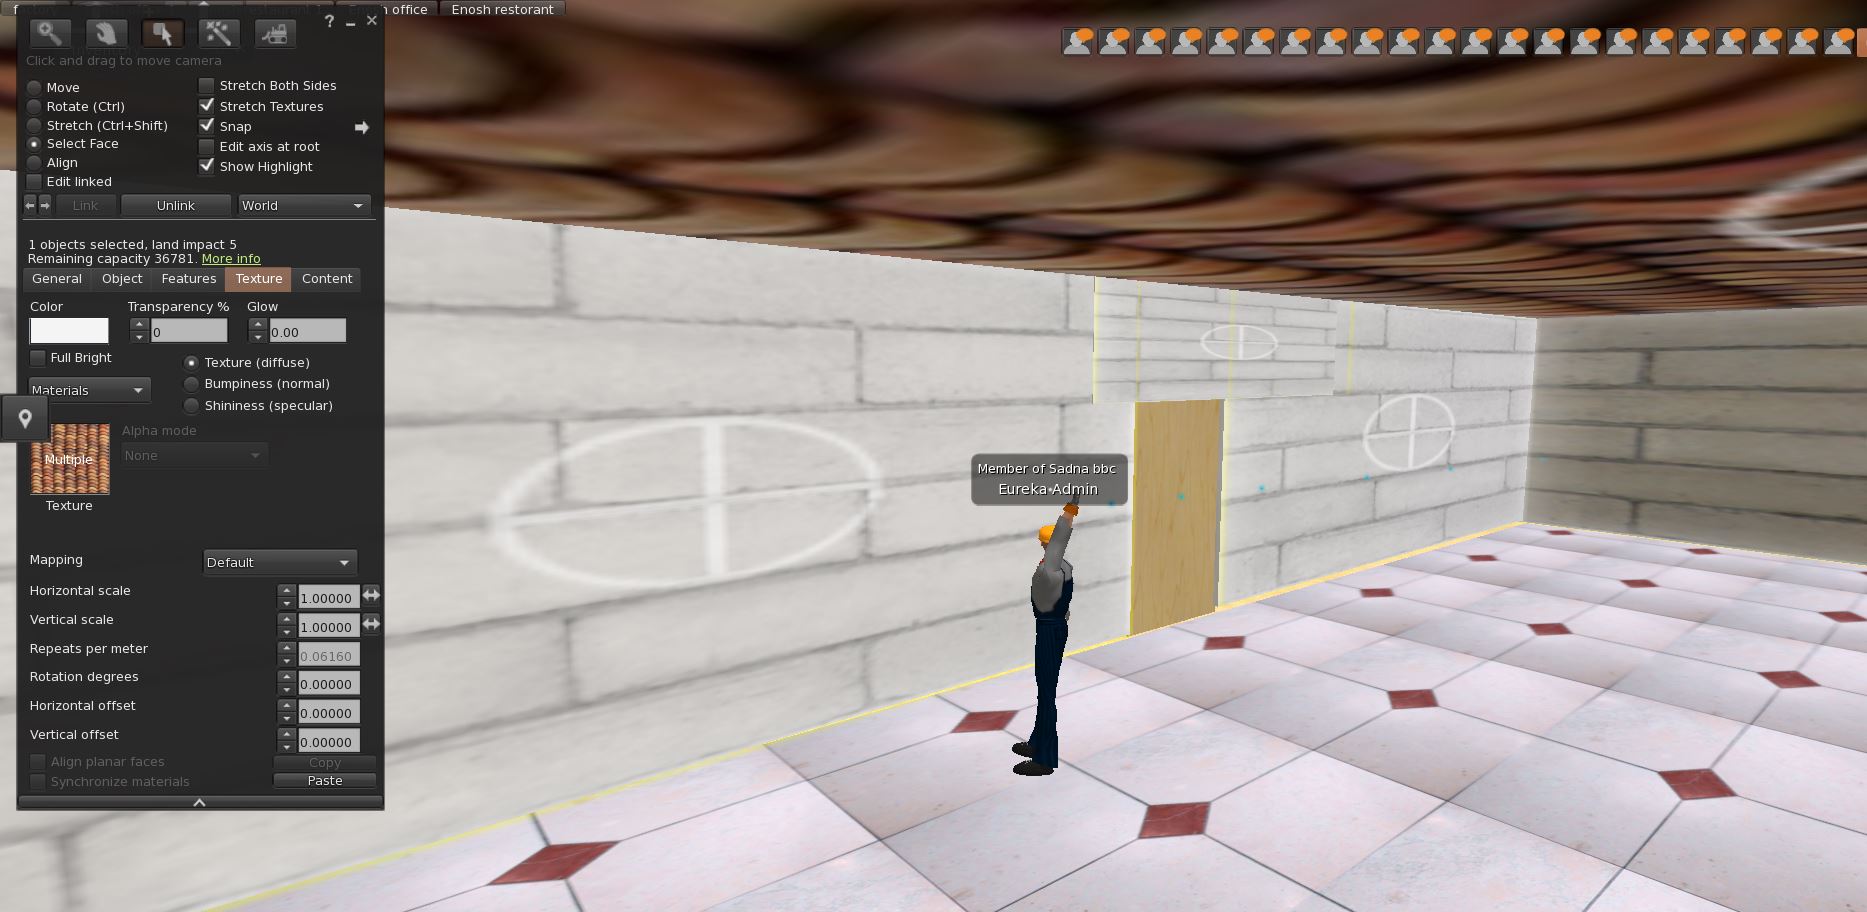
Change the color of the interior walls of the house and the ceiling.
In the EDIT menu, select the SELECT FACE option and mark all the interior walls that we want to paint.